How it's Made
I often get questions regarding the various stages that go into making an item so thought it may be useful to include here a brief description of the various stages of work that go into making your leather item.
In this case the images where taken while making a plain lead but whatever the item (excluding masks) all the stages are the same. Depending on what is being made produced it could take anything from 1 1/2hrs to 25+hrs to make an item. Not counting the pattern drawing or dye drying times.
I apologise in advance, especially to any leatherworkers reading this, for the very basic explanation of the stitching process. There is a little more to it than the pictures show but hopefully this gives you an idea of the process.

1 Cutting Out
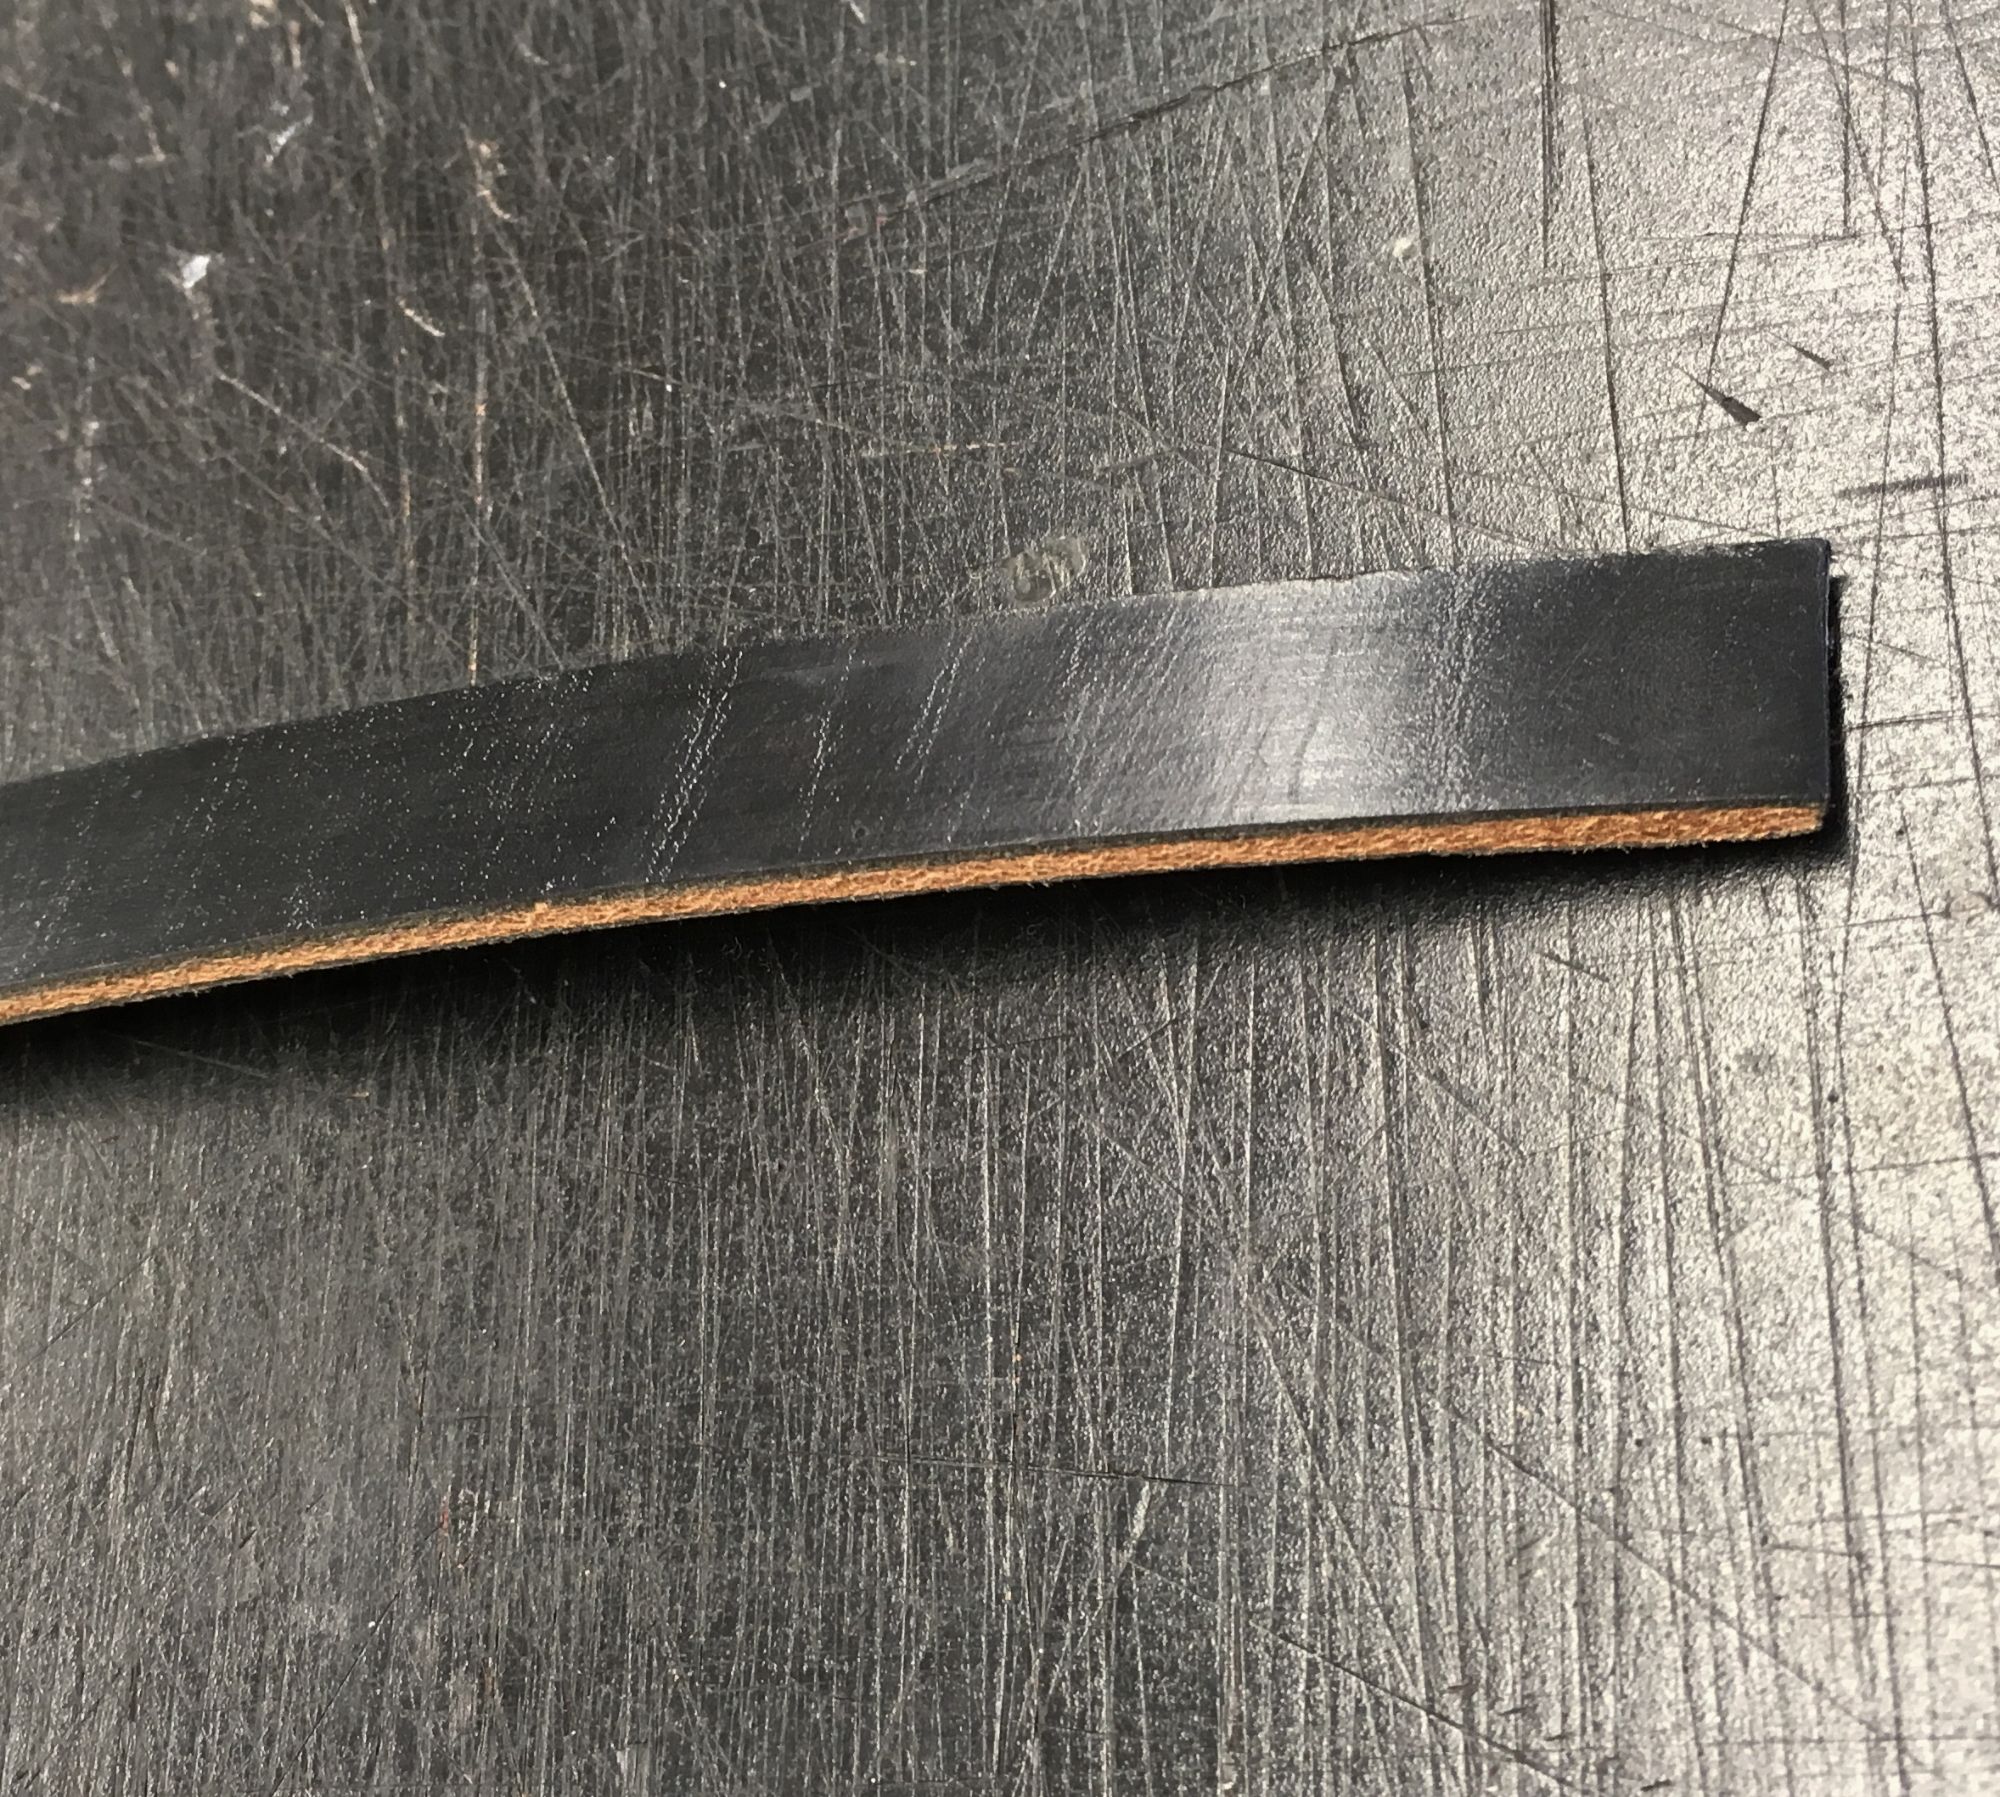
A strip of leather is cut from a hide of English bridle butt. The areas where the leather will meet at the clip and handle are slightly marked ready for stage 2.
2 Edging

A bevelling tool is used to take a thin strip off the leather, avoiding the areas where the leather will meet. This rounds the edges making more comfortable to hold or in the case of a belt wear.
3 Dyeing

Edge dye is applied to the leather and burnished with a piece of canvas. This seals the edges and produces a smooth finish.
Elbow grease required!
4 Creasing

The crease tool is heated and drawn along the length of the leather making an indentation. This gives the lead a finished look but also provides a guide line for the stitches.
5 Stitch Mark
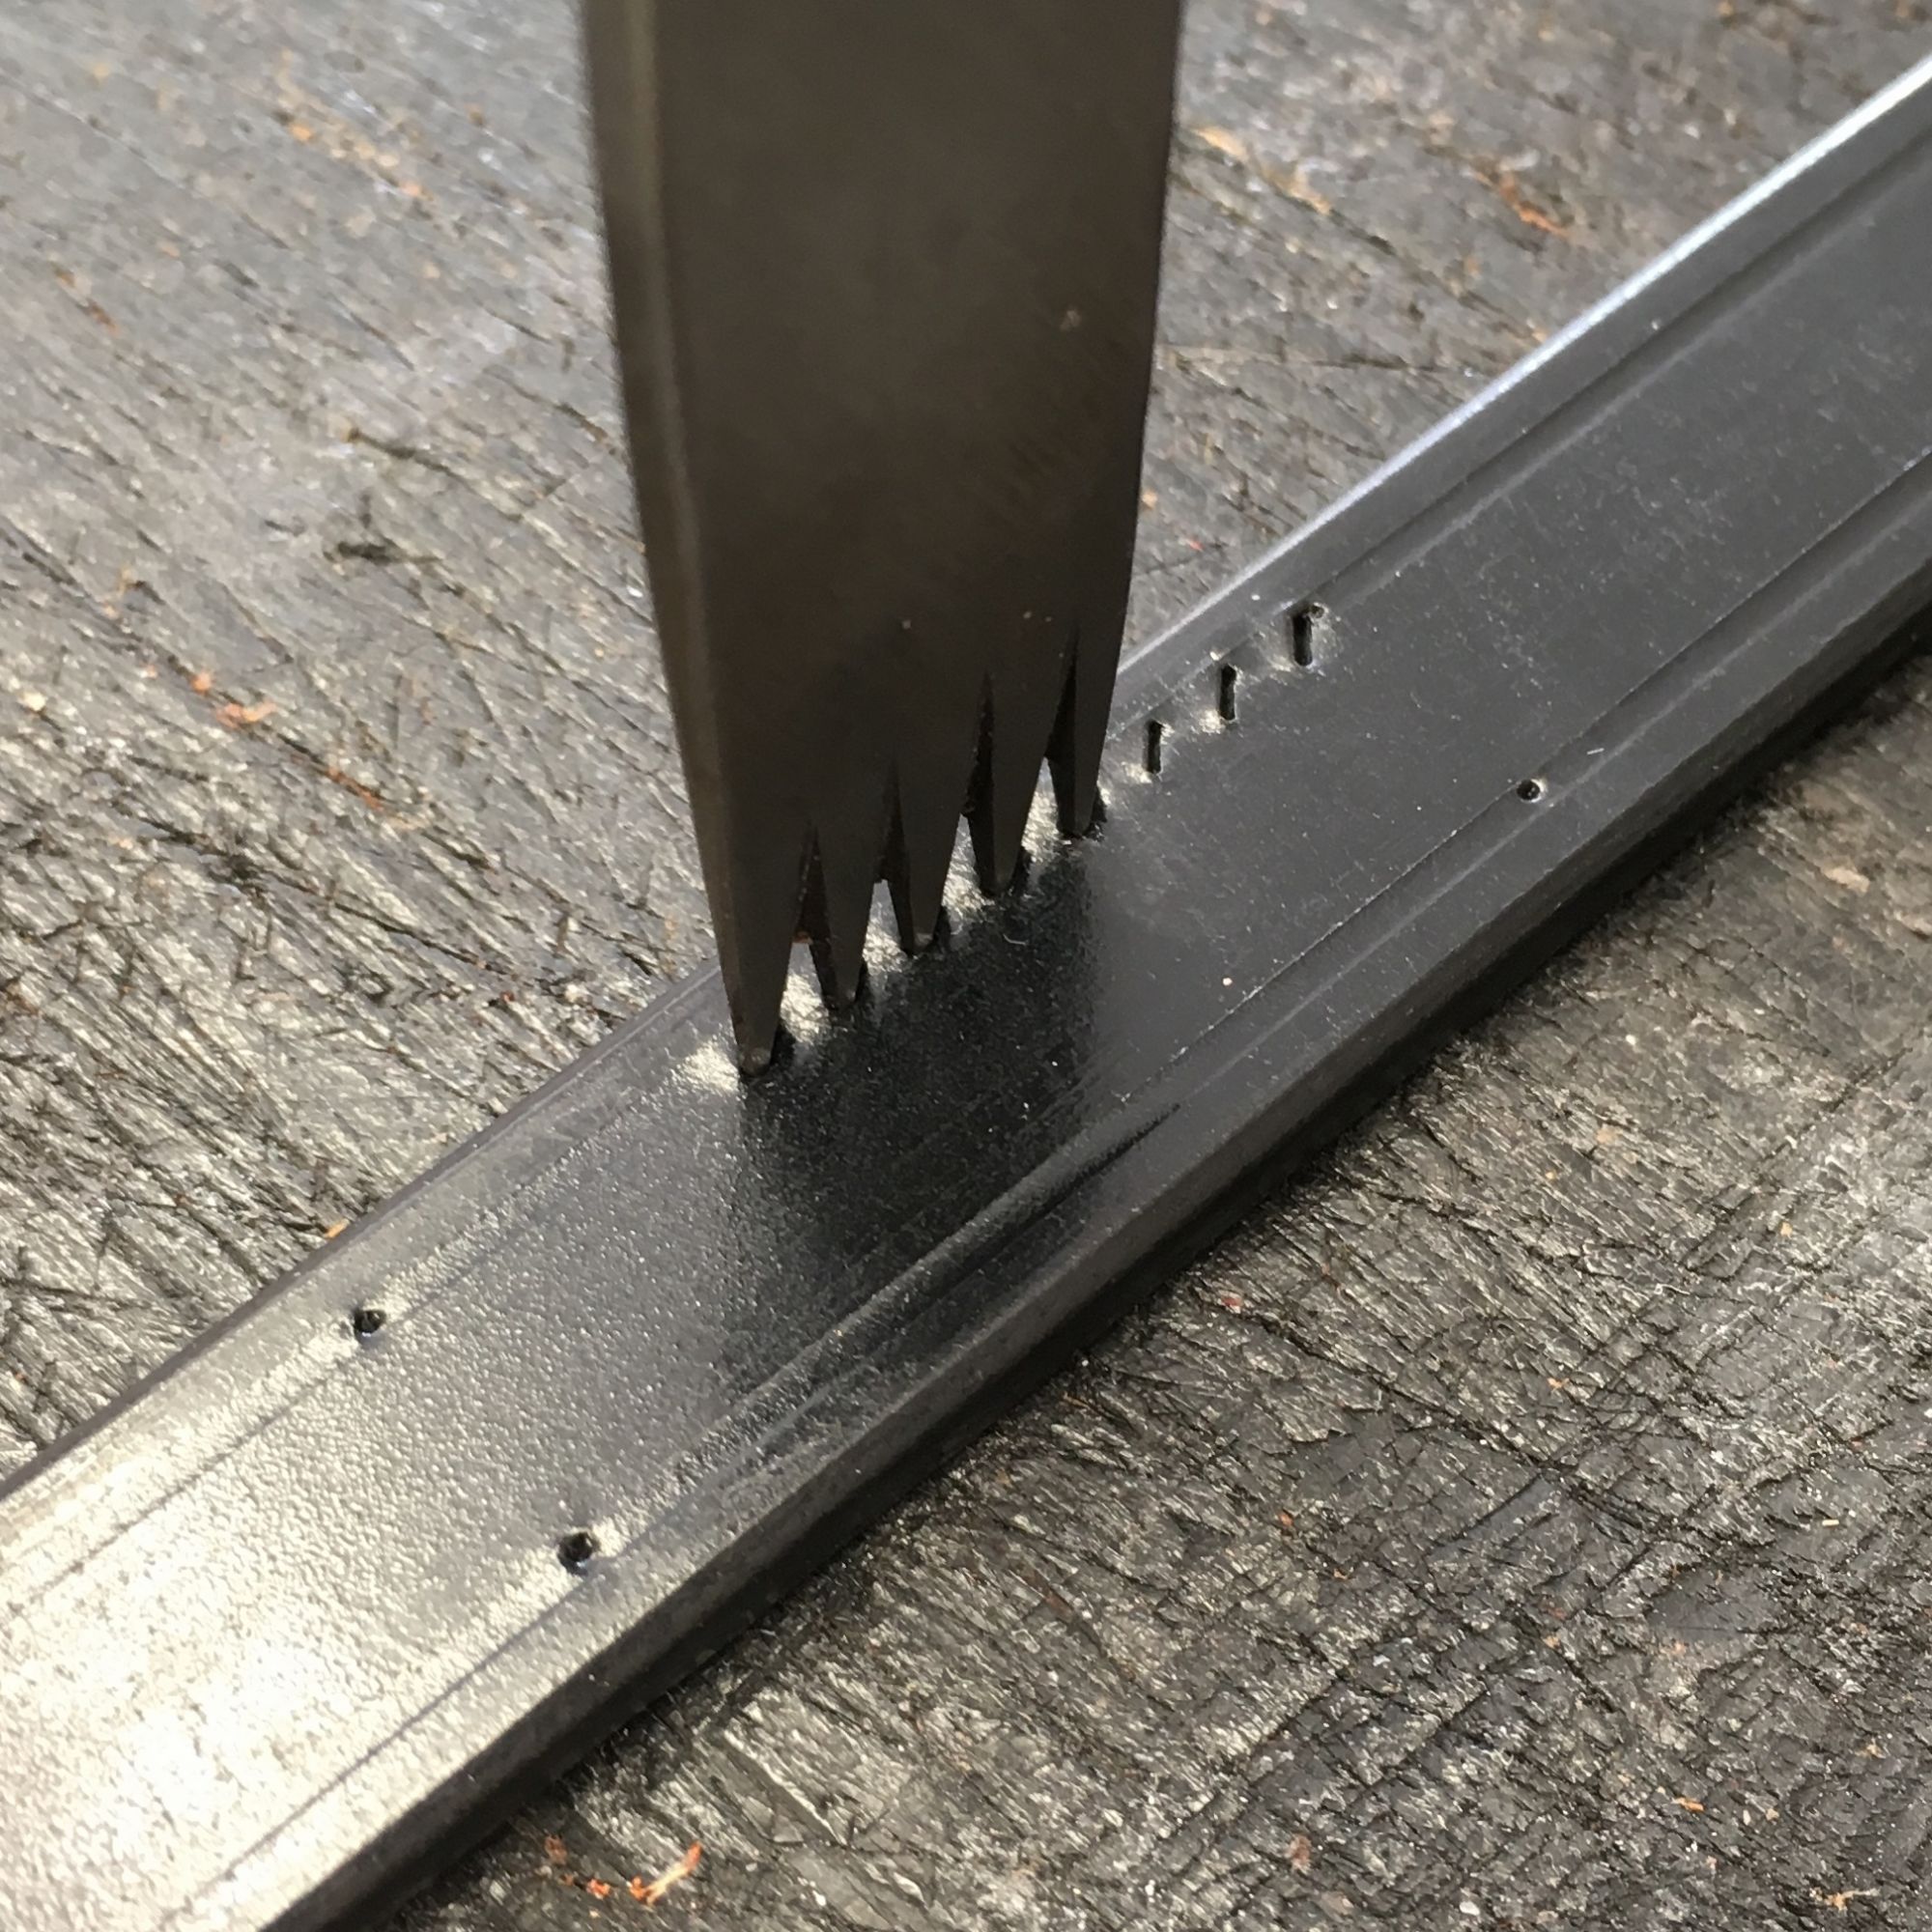
The area to be stitched is measured out and guide points made. The pricking iron is used to make indentations in the leather, these are where the stitches will be. The pricking iron does not go all the way through the leather. This lead has 8 stitches per inch.
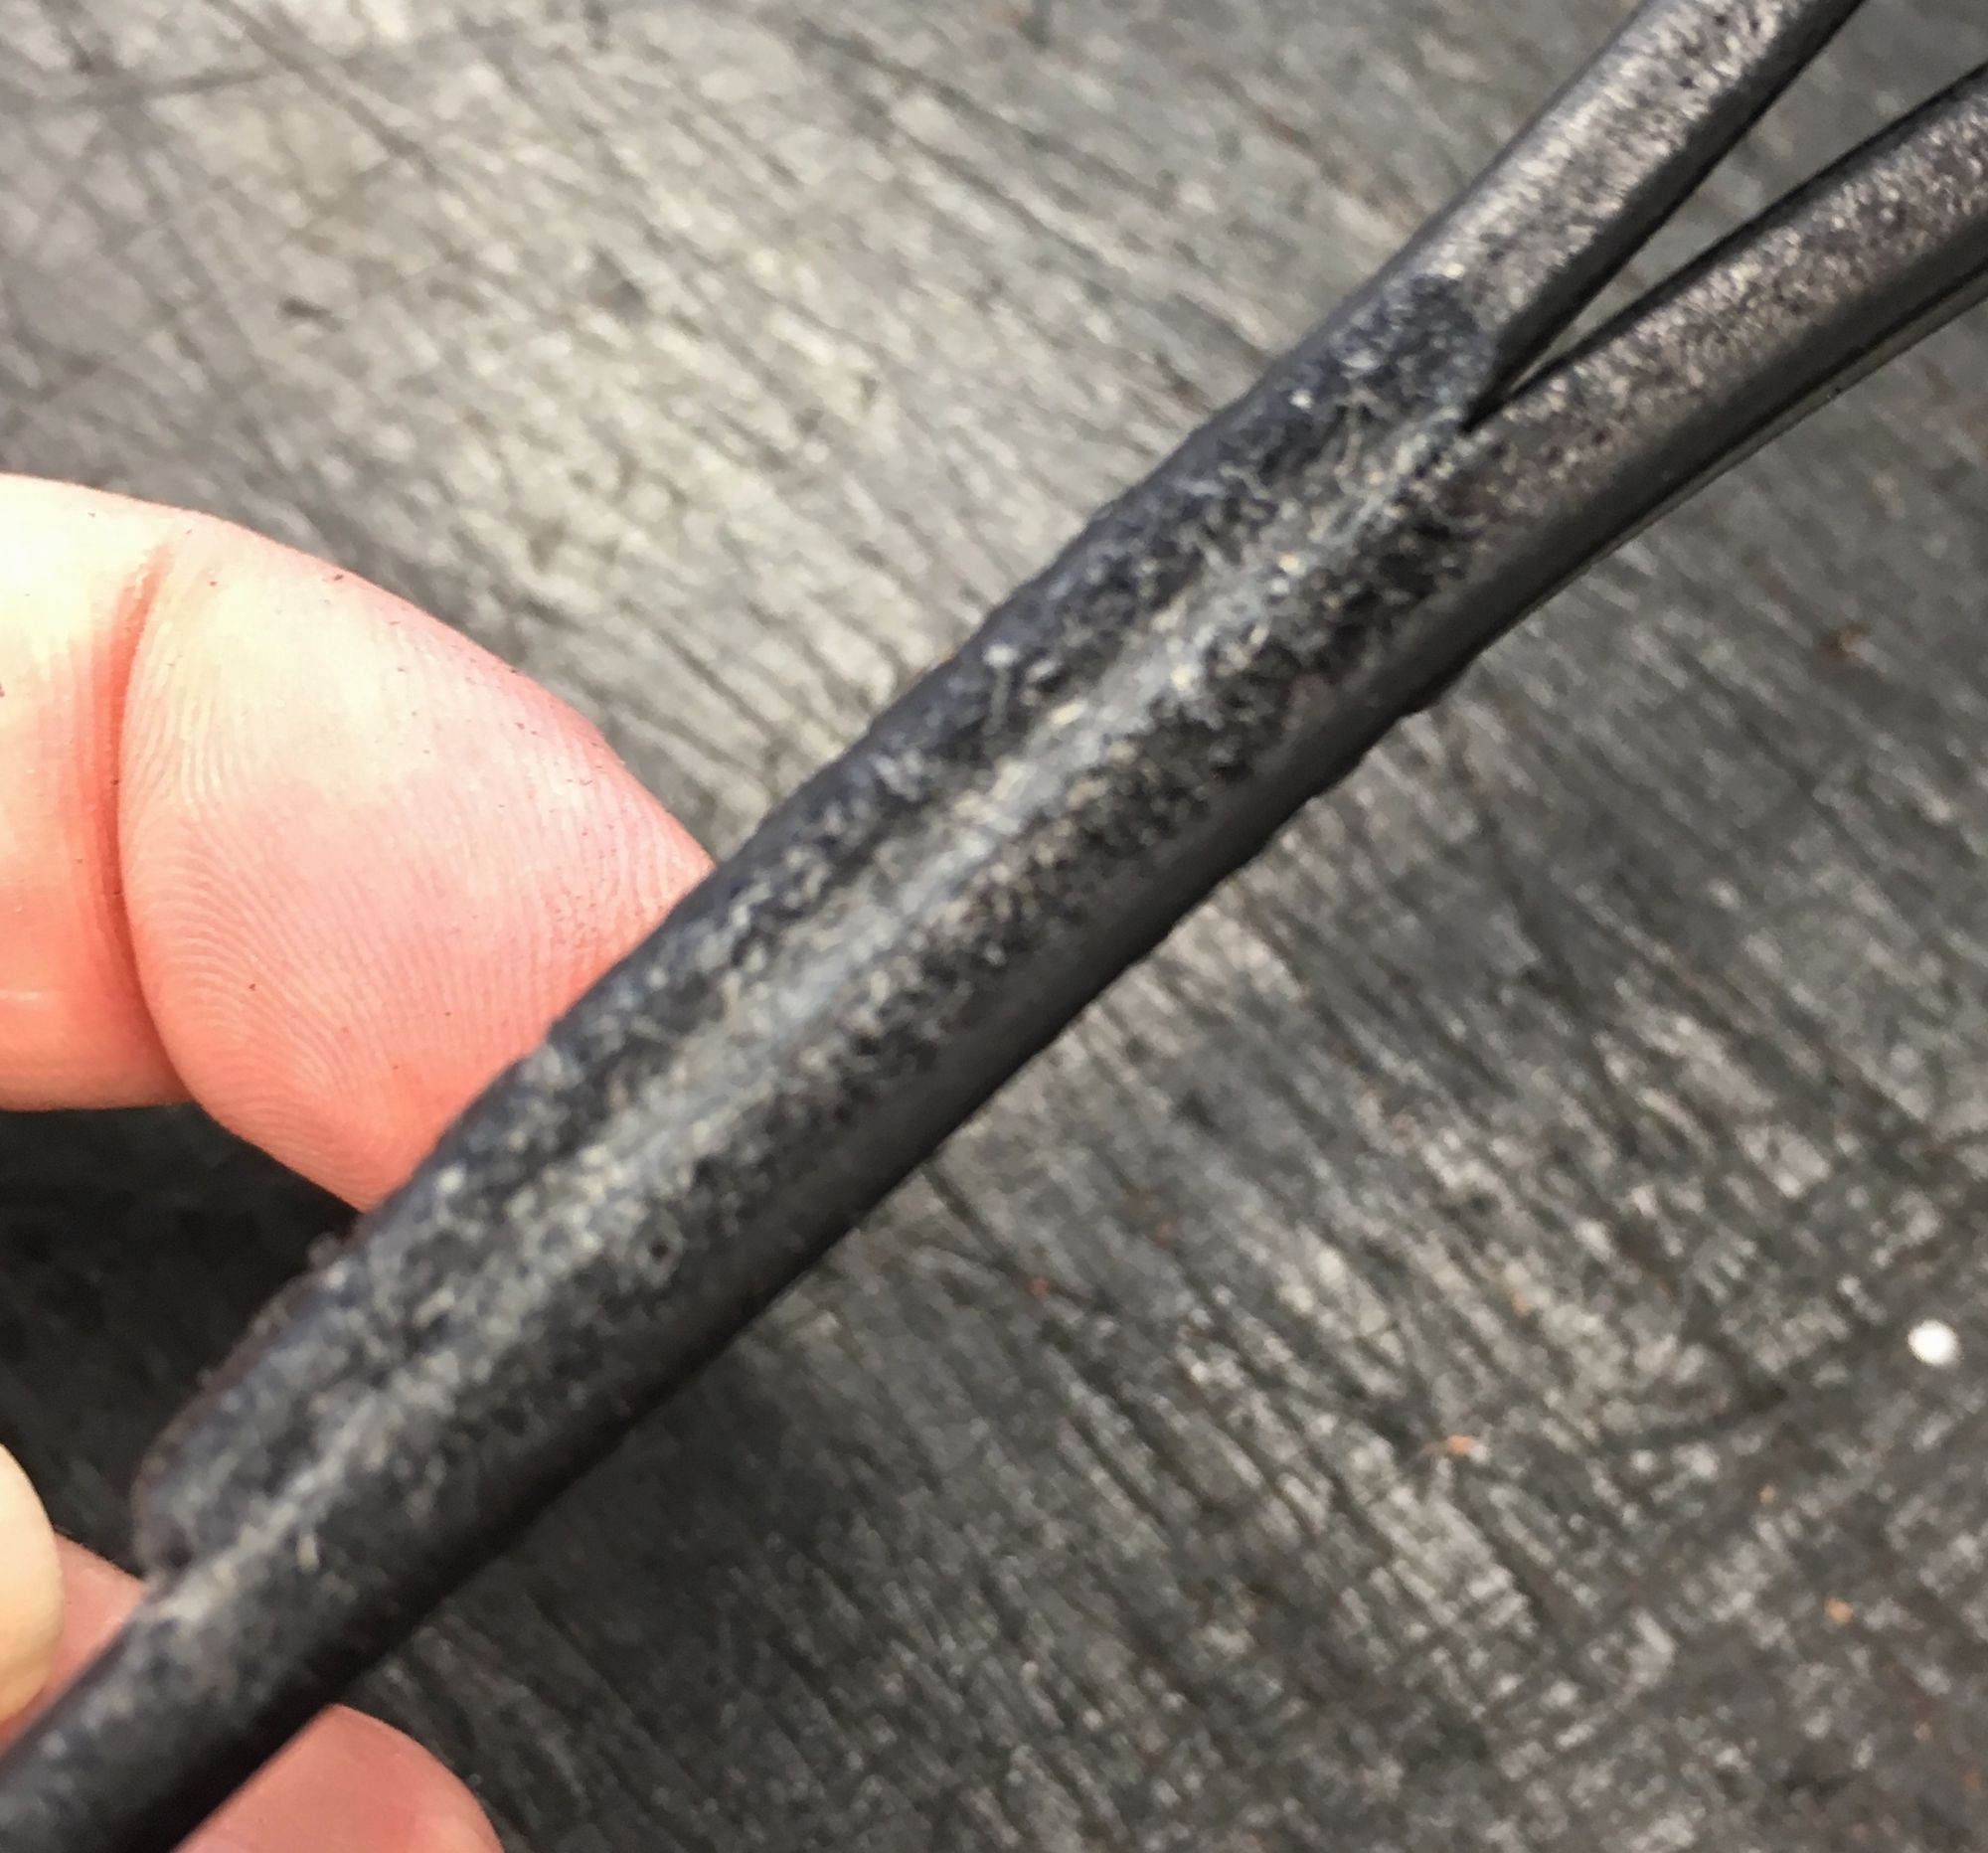
7 Paring Down

Once the stitching is marked the areas where the leather meets is reduced in thickness using a knife. This makes for a neater finish and supposing this was lying against a dogs neck or horses face makes it much more comfortable and less likely to rub.
8 Stitching (1)

The leather has been bent round the clip and placed into the clams (basically a large wooded vice) so your hands are free to stitch. The awl is now used to make a hole in the leather. The needles and awl are held at all times during stitching basically making a hole then stitching one at a time.
8 Stitching (2)
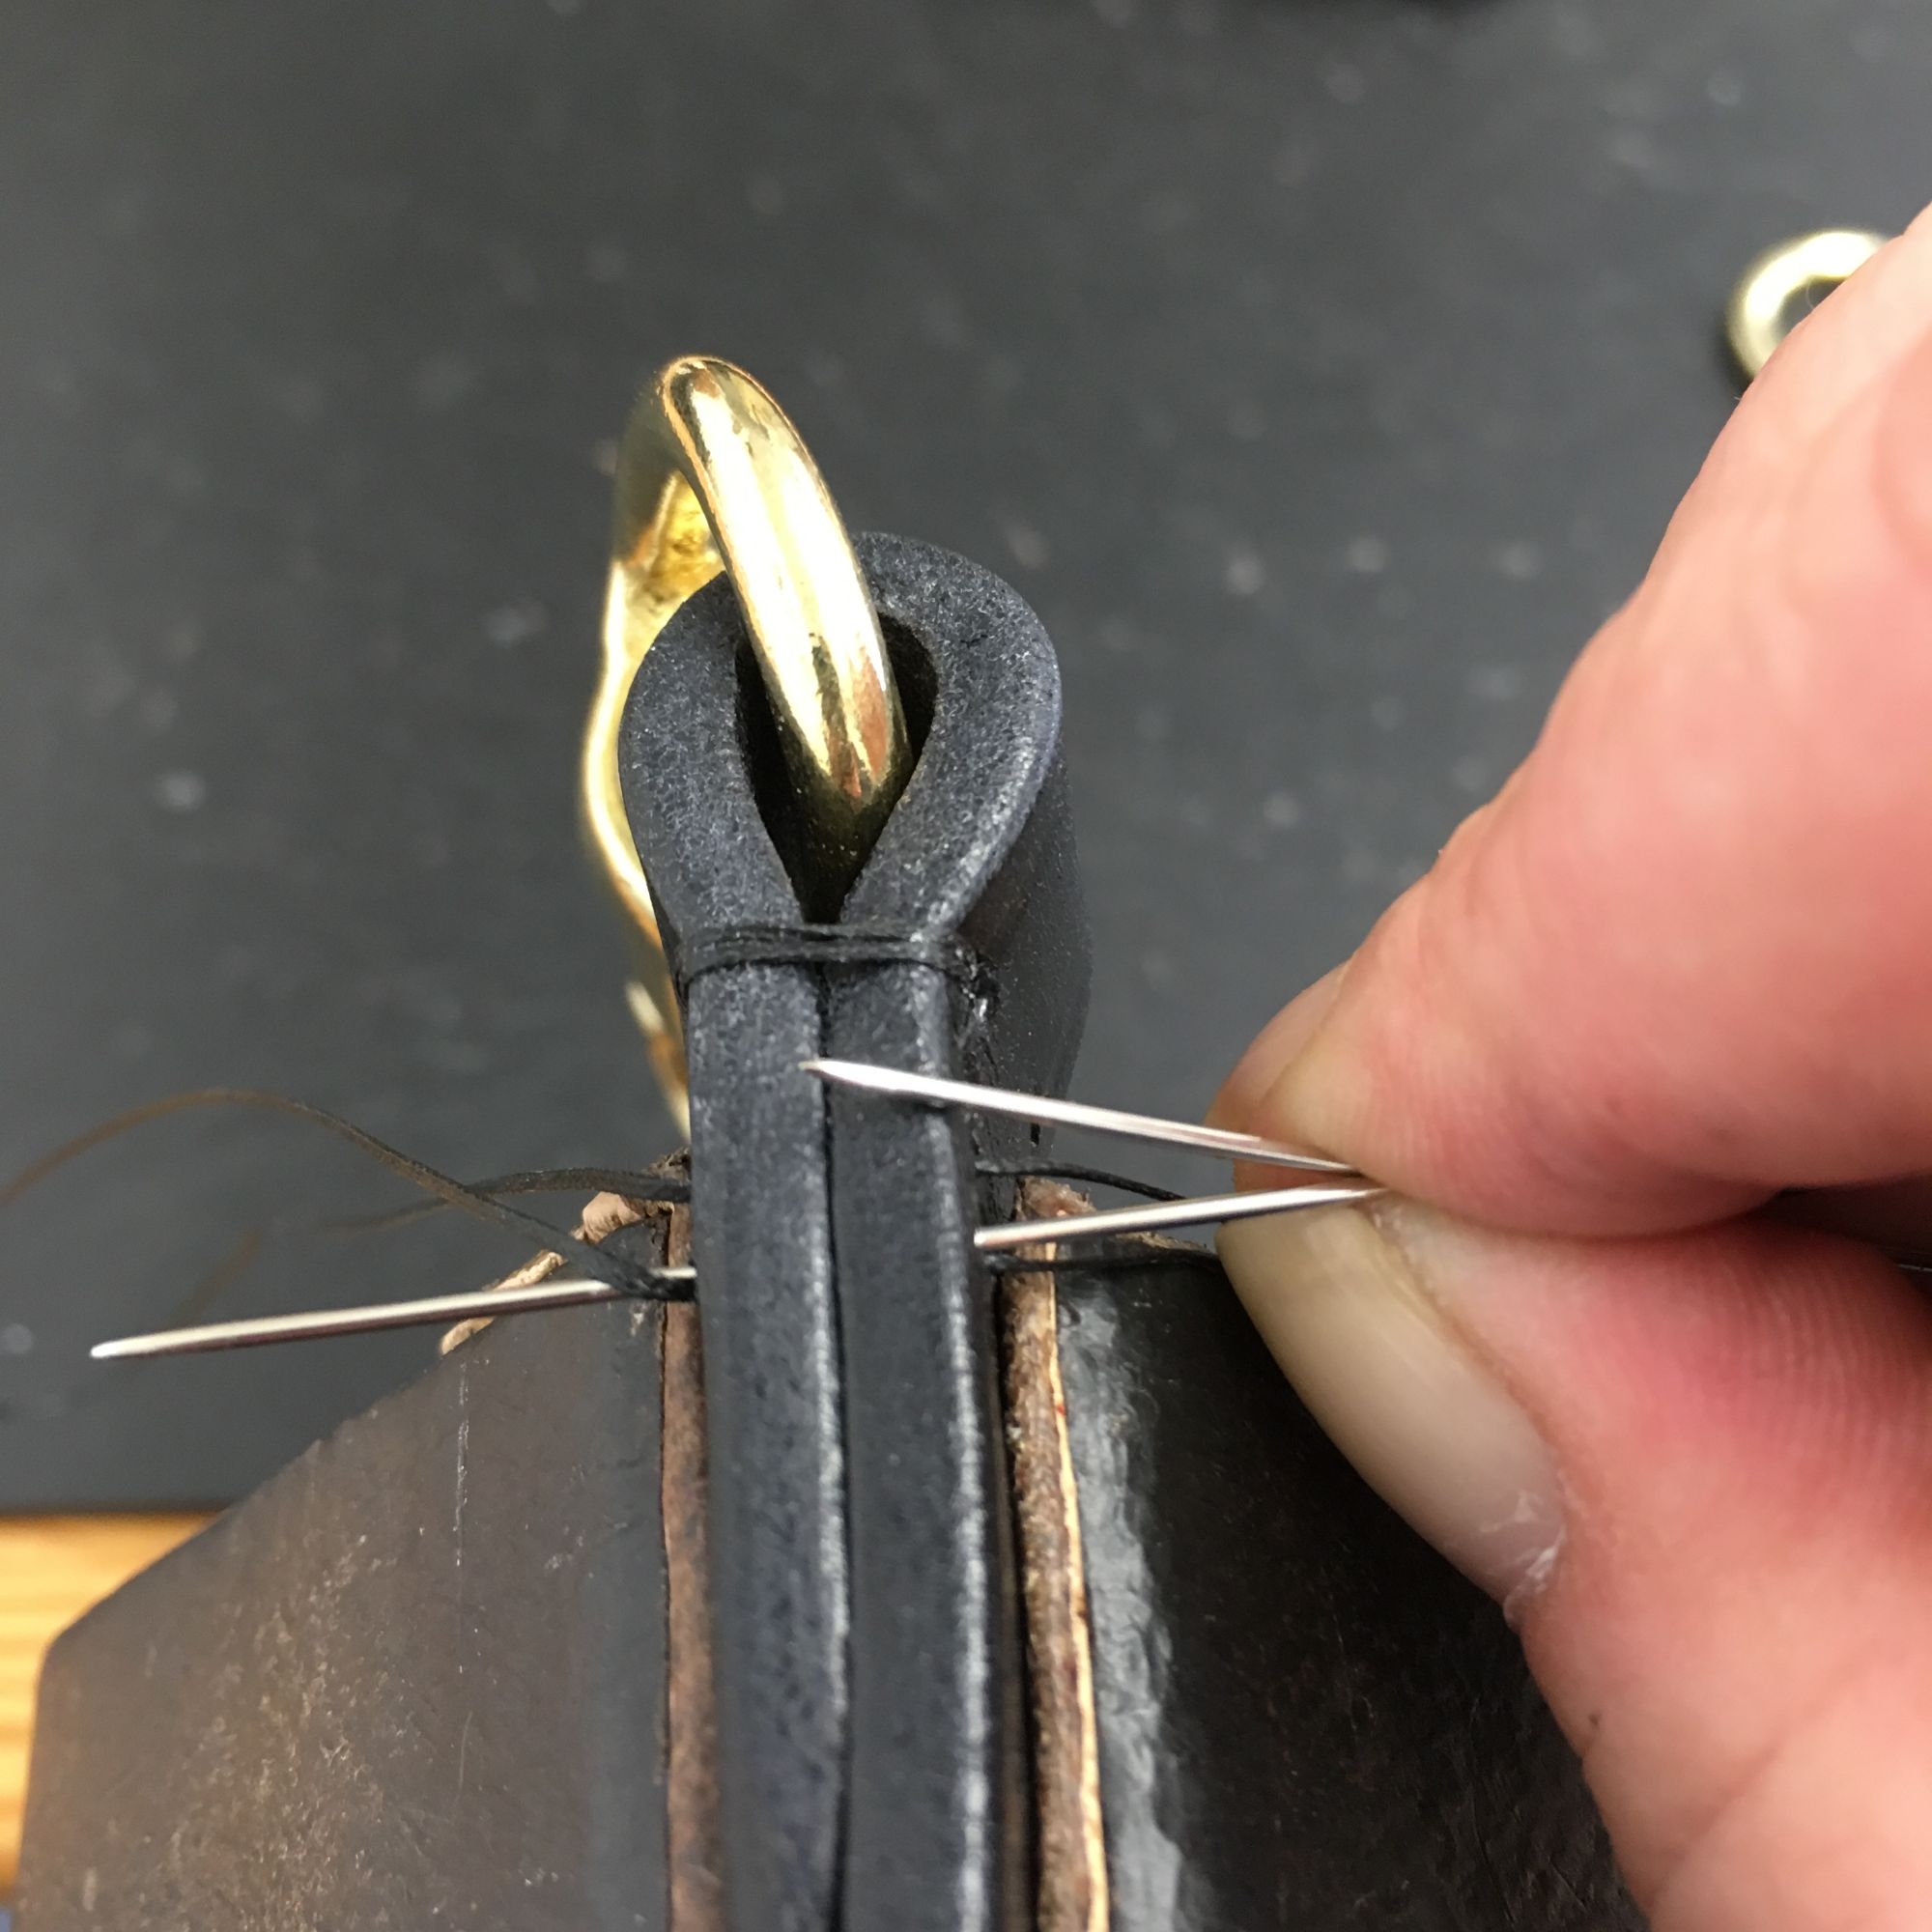
Two needles are used in saddlery stitching these pass from one side to the other through the hole made by the awl. This method of stitching 'locks' the stitches so if one stitch breaks then the rest hold the leather together. Unlike machine stitching where the stitches will all pull out.
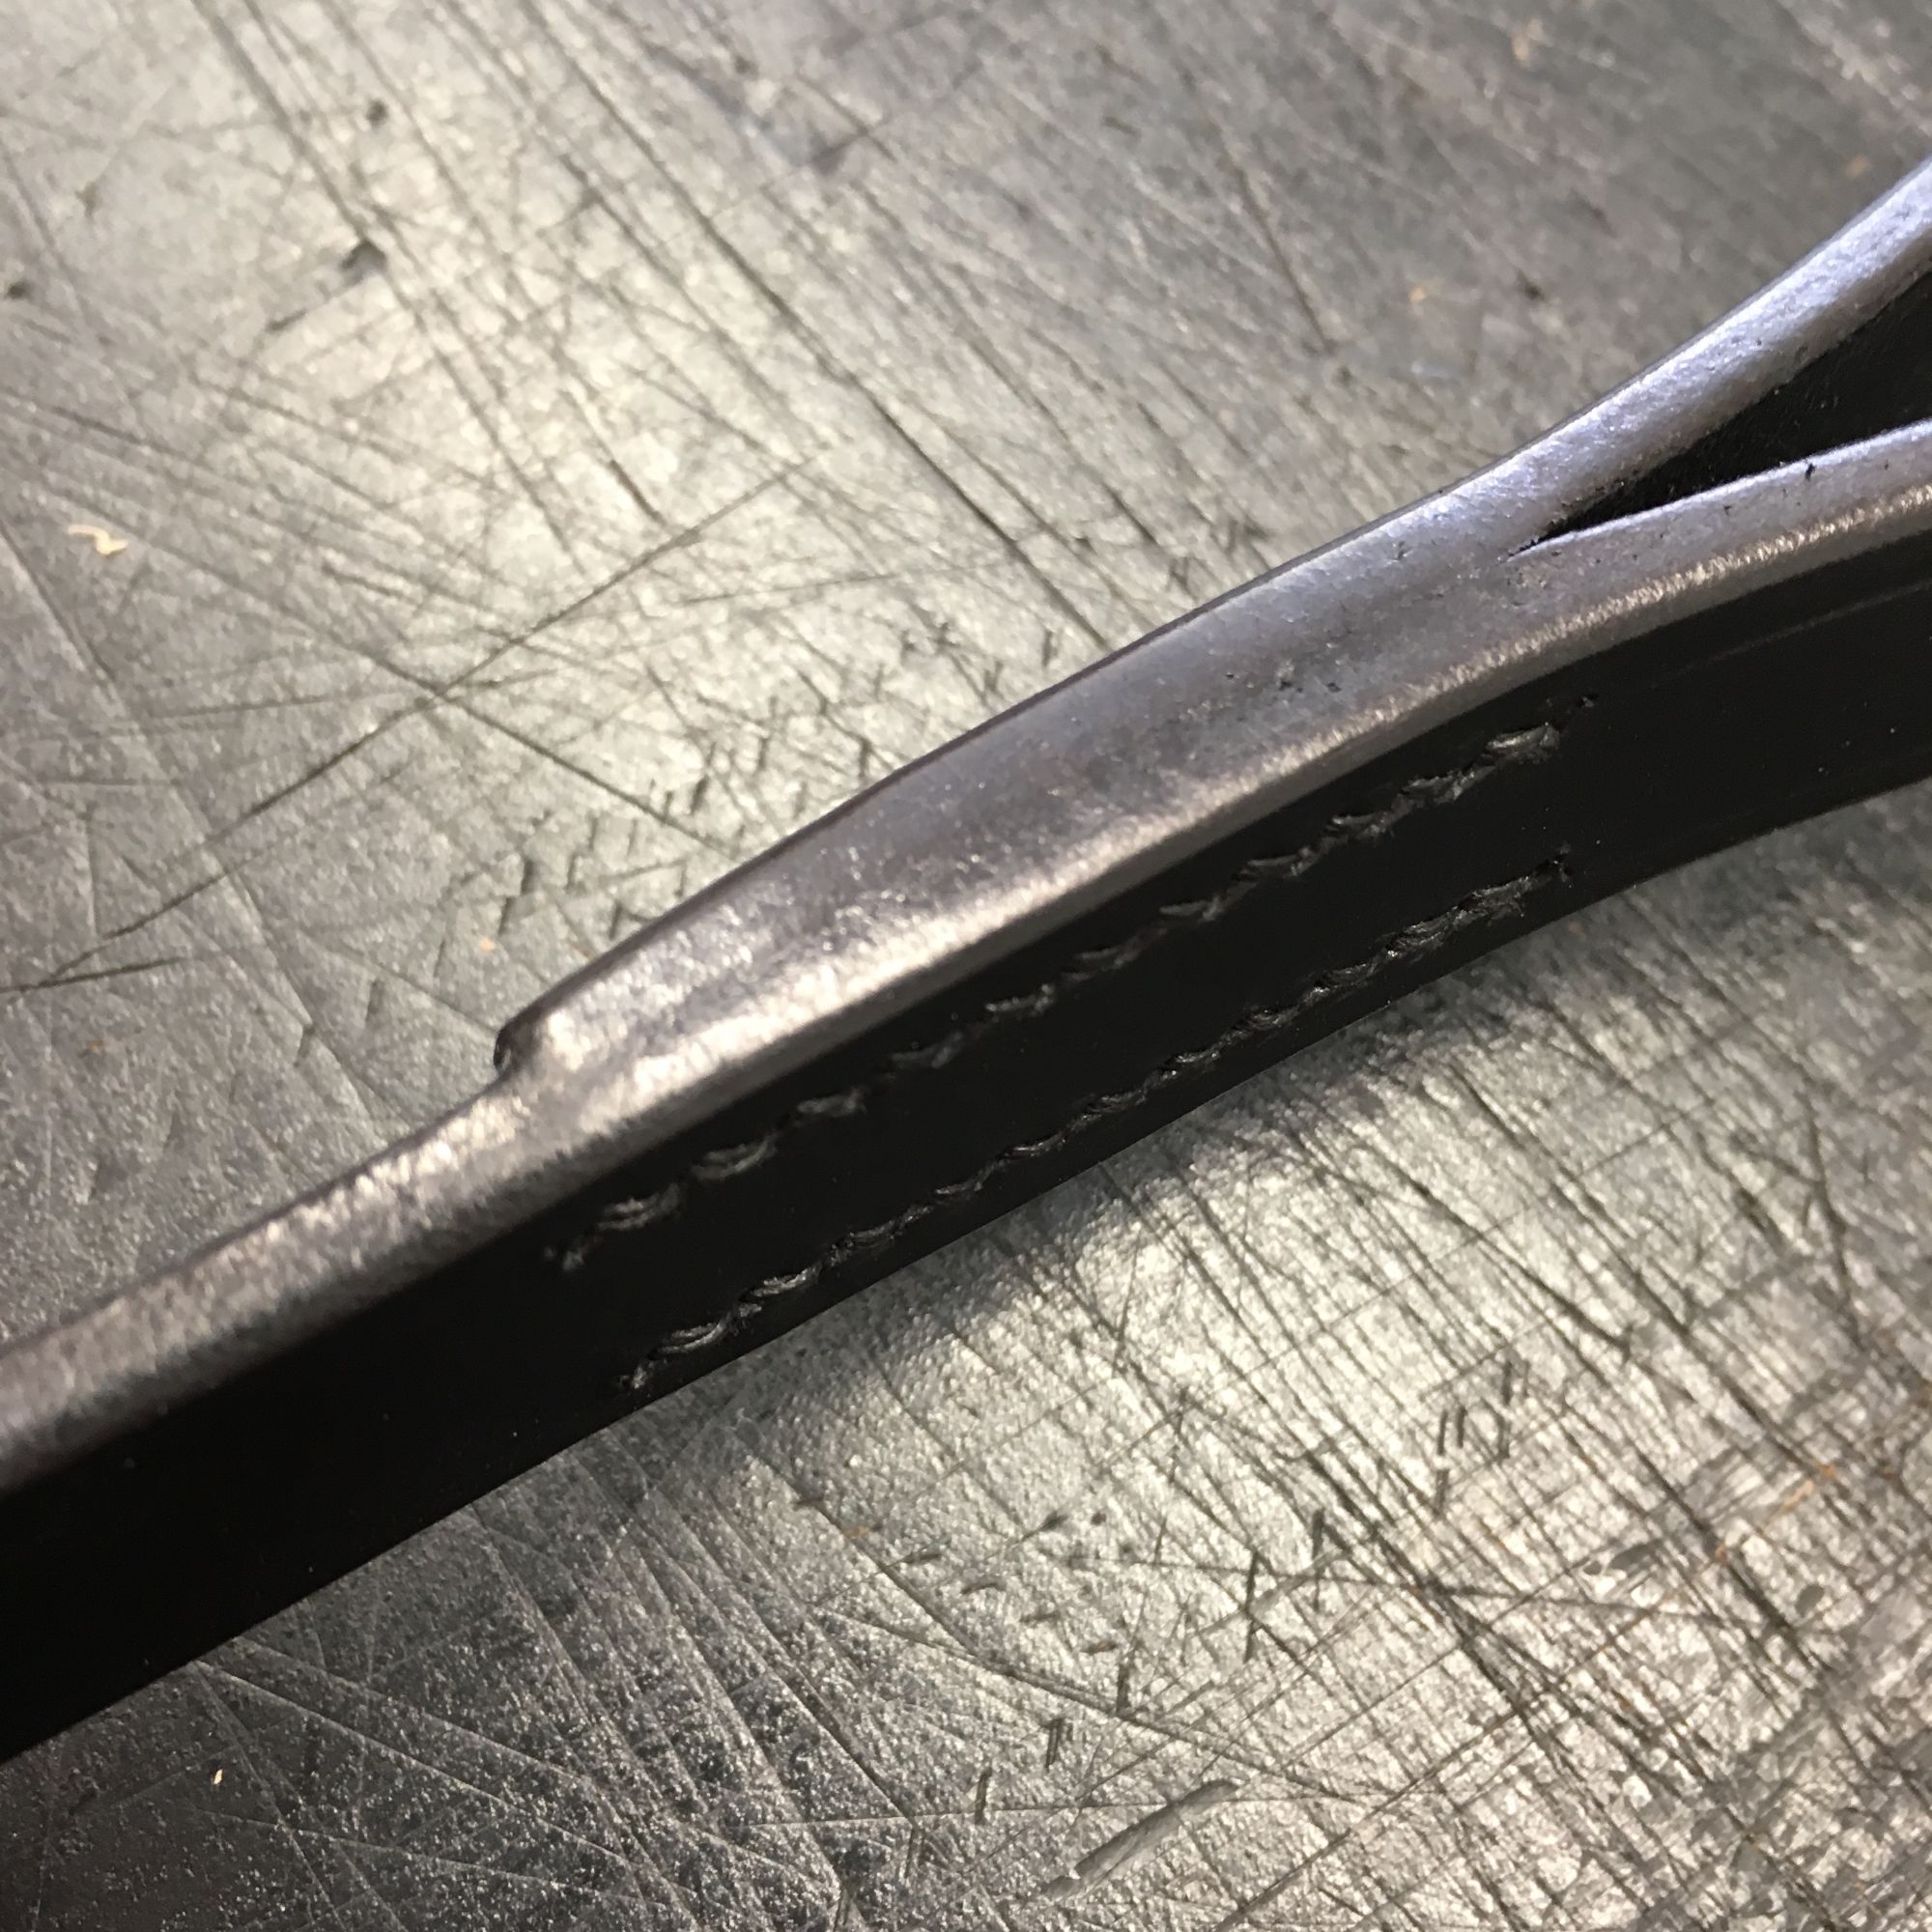
9 Evening Up

Once the stitching is complete the join is then 'scraped' to even the two sides. I use a tool on my penknife but when I did my training broken glass was used, not so safe though!
9 Evening Up (2)
Once the join has been 'scraped' it has a very rough edge which now needs re-dyeing and polishing/burnishing.
Final Polish
The edge has been dyed and polished. I use an antler or the handle of old knife (bone) to help give a nice sheen to the leather edge. The final stage is to 'paint' the edges with an acrylic sealant.
Finished Lead
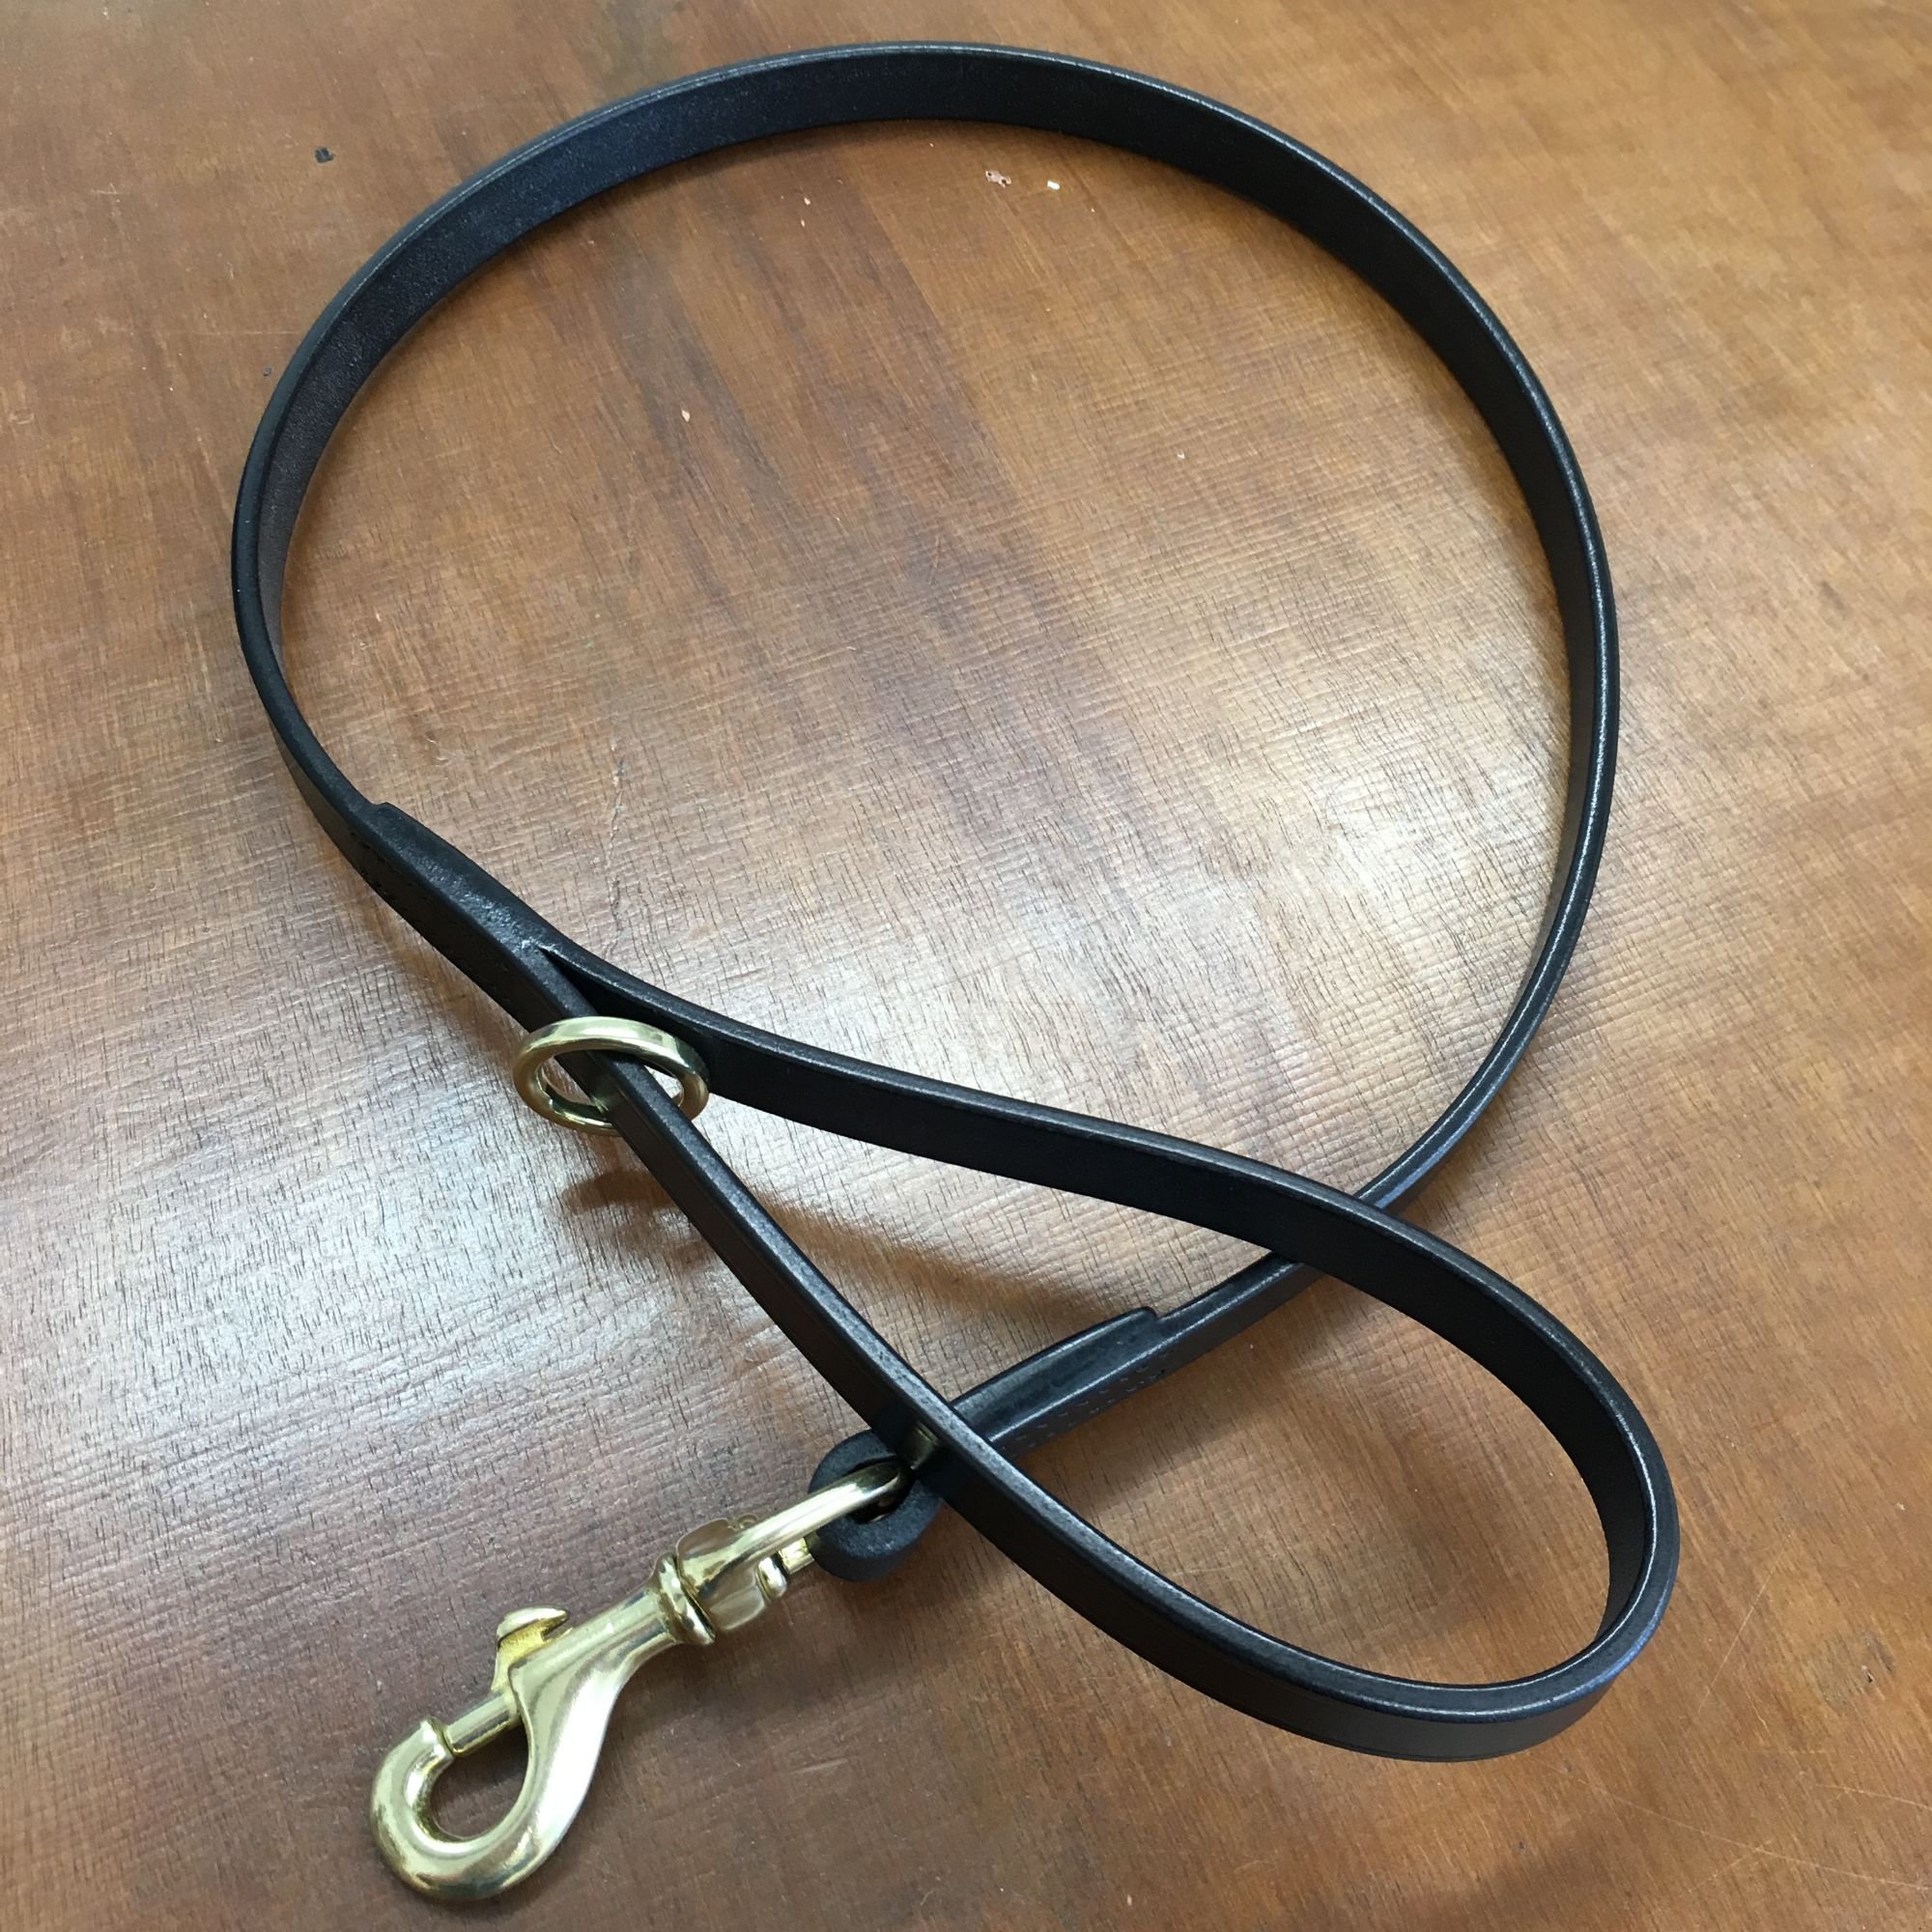
All finished and ready to use. Well nearly, the leather needs to be treated with a leather balm to soften and moisturise the leather.